
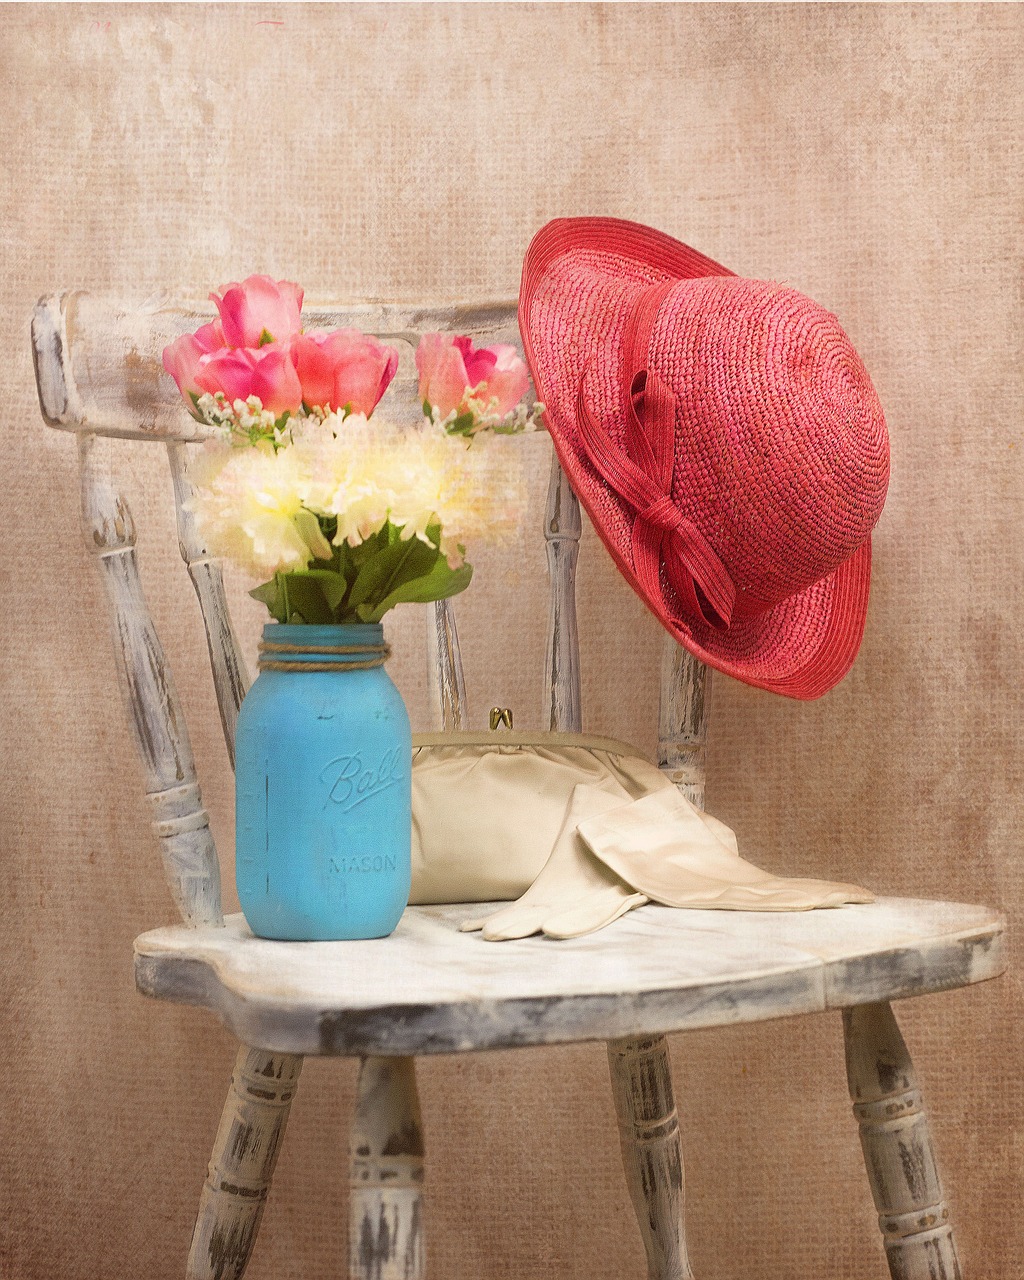
If you’re spending more time inside during the colder, darker months, why not try your hand at something new? It’s the ideal time to have a go at upcycling furniture – re-making, re-painting, re-furbishing and re-vamping until you end up with something better than the original.
The great thing here is that it’s difficult to do it wrongly – if you make any mistakes, another coat of paint will normally sort it out. If you really go badly off-piste, you can always pretend that what you were aiming for wasn’t a dining table at all, but a bar stool! If you’re not confident, try out your techniques first on either plain bits of wood or cheap furniture such as kitchen chairs.
Where and what to buy
The best sources of raw material for your projects are charity shops, junk shops, relatives and friends and online auction sites. You can also try antique shops, as items may not be expensive depending on what you’re looking for.
You can often buy large pieces of furniture very cheaply, as people don’t have room for them in modern houses, and you may be able to re-make them into something else. Look for good lines and solid furniture – anything that was originally badly made or rickety won’t give you a nice end result, no matter no good your work is.
Before you start
The beauty of this is that you don’t need much specialist equipment at all, and it’s a ‘cheap ‘n’ cheerful’ hobby. There are a few things that will make life much easier, though! Here’s what to think about.
Paint stripper
This may or may not be useful, depending on your project. If you buy a piece of furniture that’s been previously painted or treated with wax or varnish, and you’d like to take it back to the bare wood, you’ll need to use paint stripper.
The paste-like one removes thick deposits such as paint or varnish, the thin, liquid one will remove wax. It’s a messy and smelly process, so you’ll need a well-ventilated space to work in. It’s much easier to just paint a new colour over the top of the old surface, so if you’re really impatient, like us, then that’s the quickest option.
Tools for sanding furniture
Whatever you’re doing, you’ll almost certainly need to sand your furniture. If it’s painted and you want to apply another coat, you’ll need to ‘key’ or roughen the surface slightly with sandpaper before re-painting, so that the new colour adheres properly. This is particularly important on a piece of furniture that’s going to get a lot of wear, like a chair. If you’ve used paint stripper to remove old paint, you’ll probably need to finish off some cracks and crevices by hand with sandpaper, as well. Sandpaper comes in several grades, from coarse down to fine, and it’s handy to have several pieces in your toolbox. The good news, though, is that it’s dirt cheap to buy. You may also find a sanding block useful – this is a rectangle of wood covered in sandpaper, ideal for getting into corners with.
If you’re planning to sand any large areas such as a table top or wardrobe, then a power sander is a must. The domestic ones aren’t expensive (£20 to £50 from DIY shops), and they’re extremely useful. Not only are they much, much quicker and easier than sandpaper for large areas, they’ll also give a more consistent finish. You’ll still need sandpaper to finish off the edges, though.
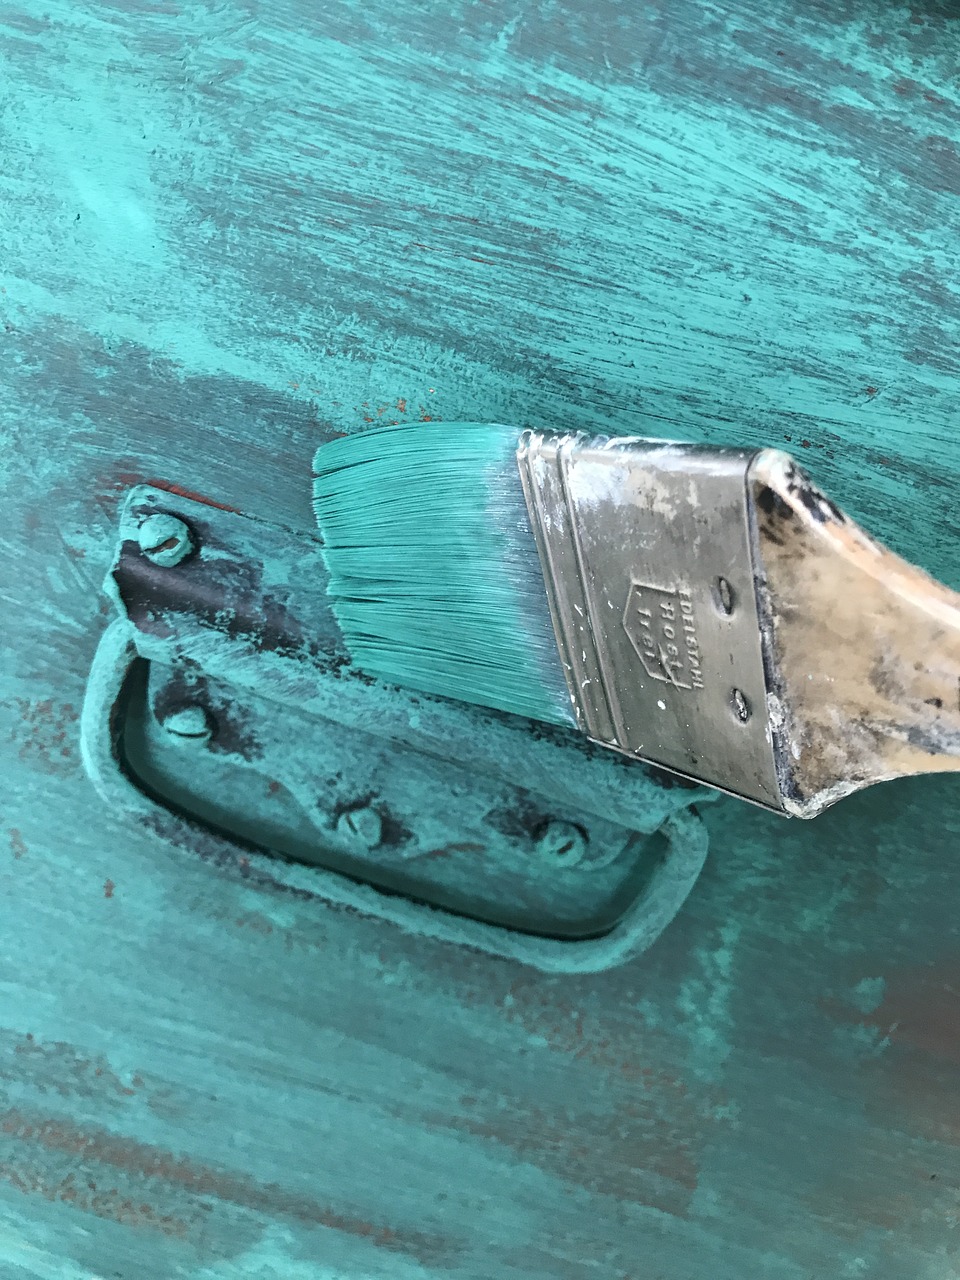
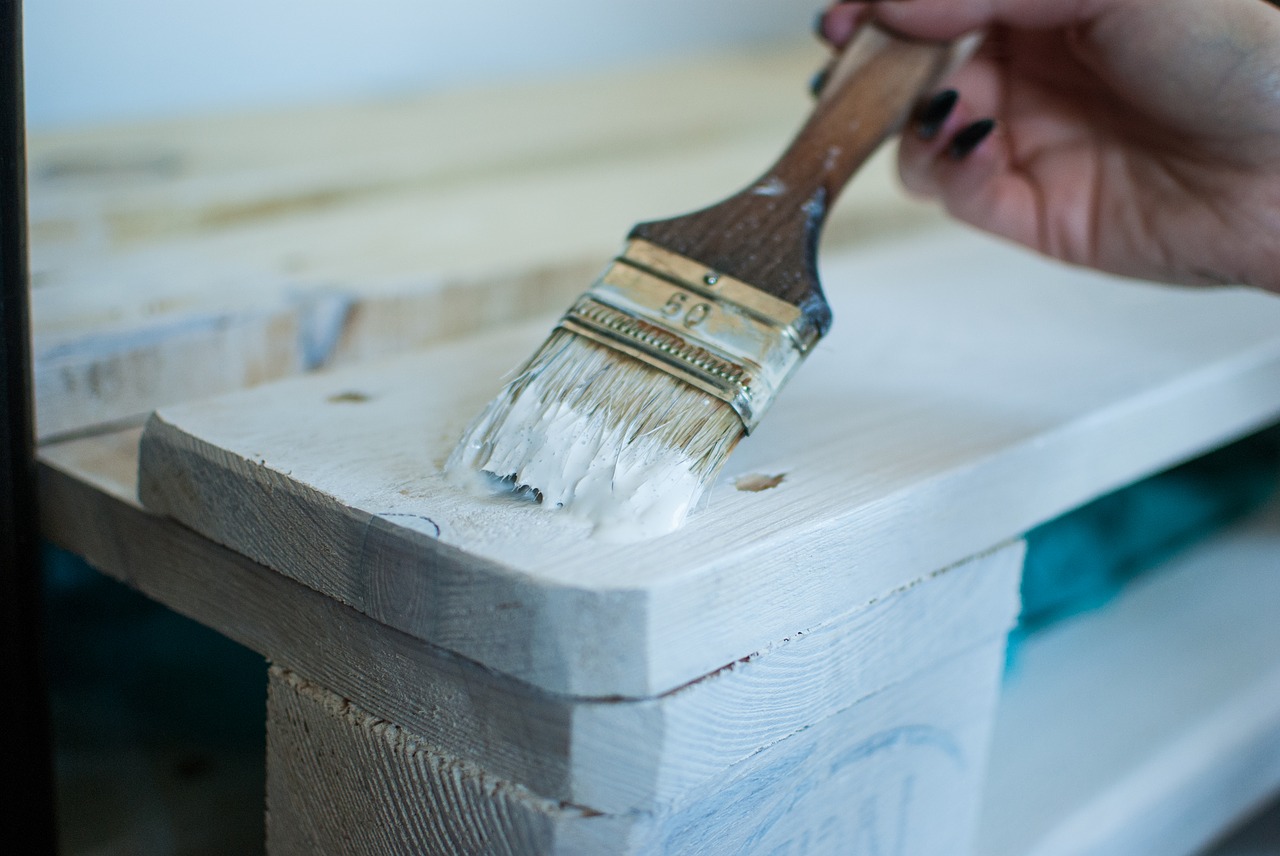
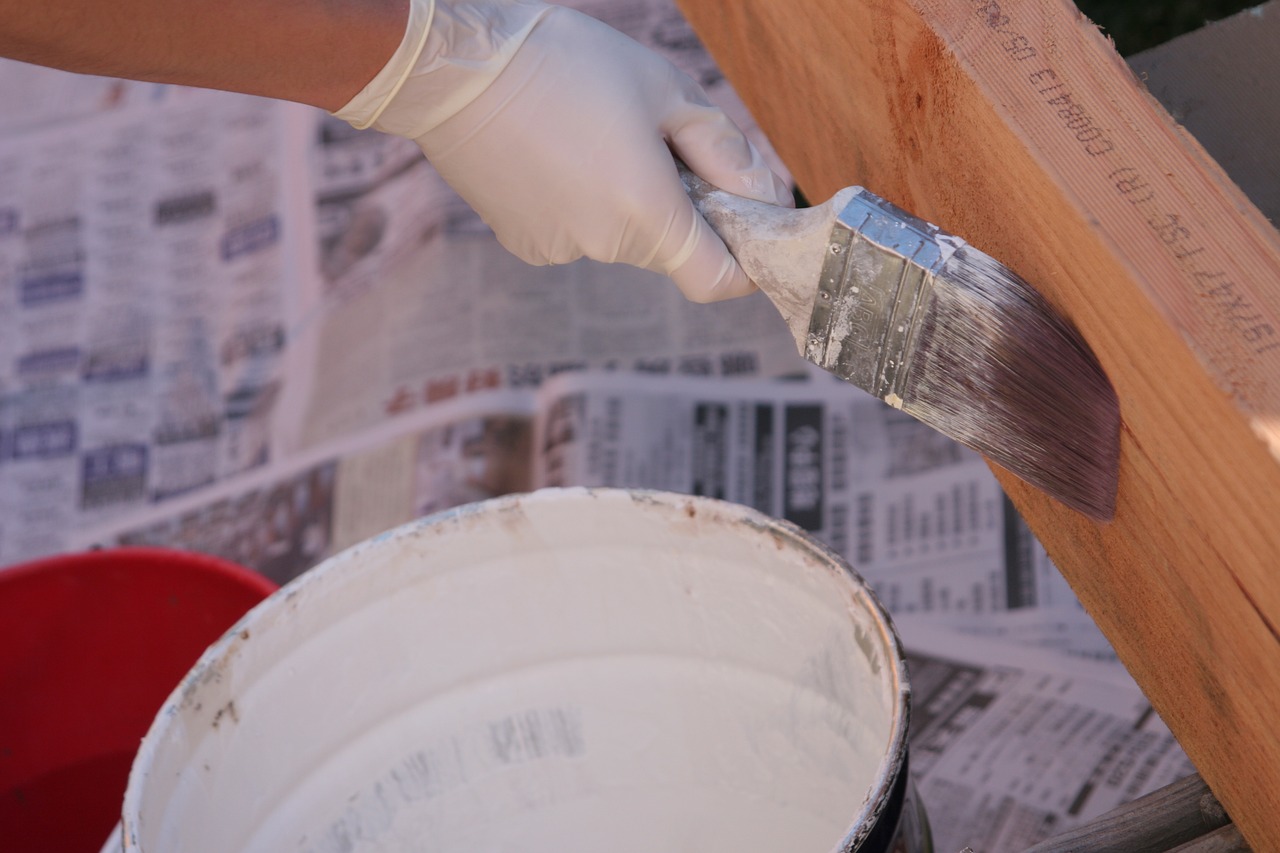
Tools for painting furniture
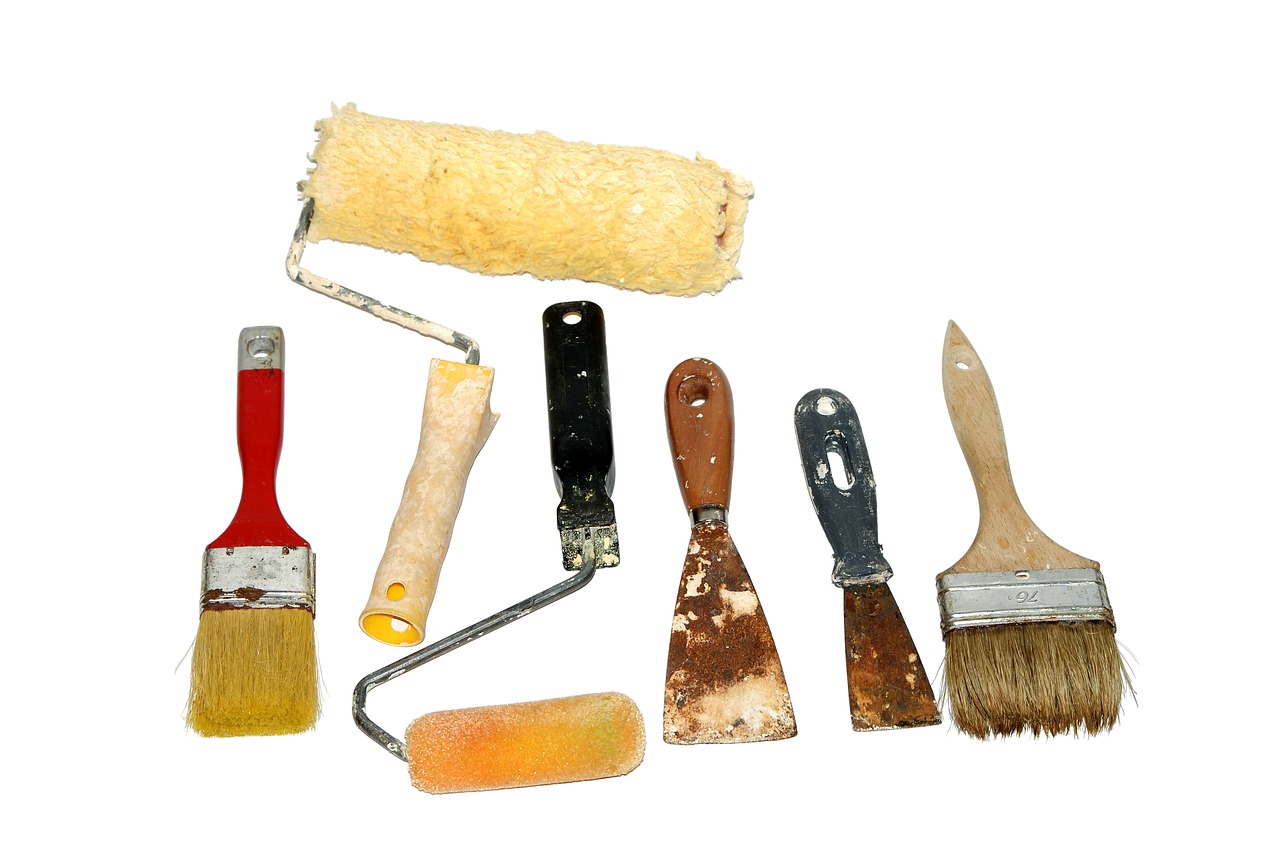
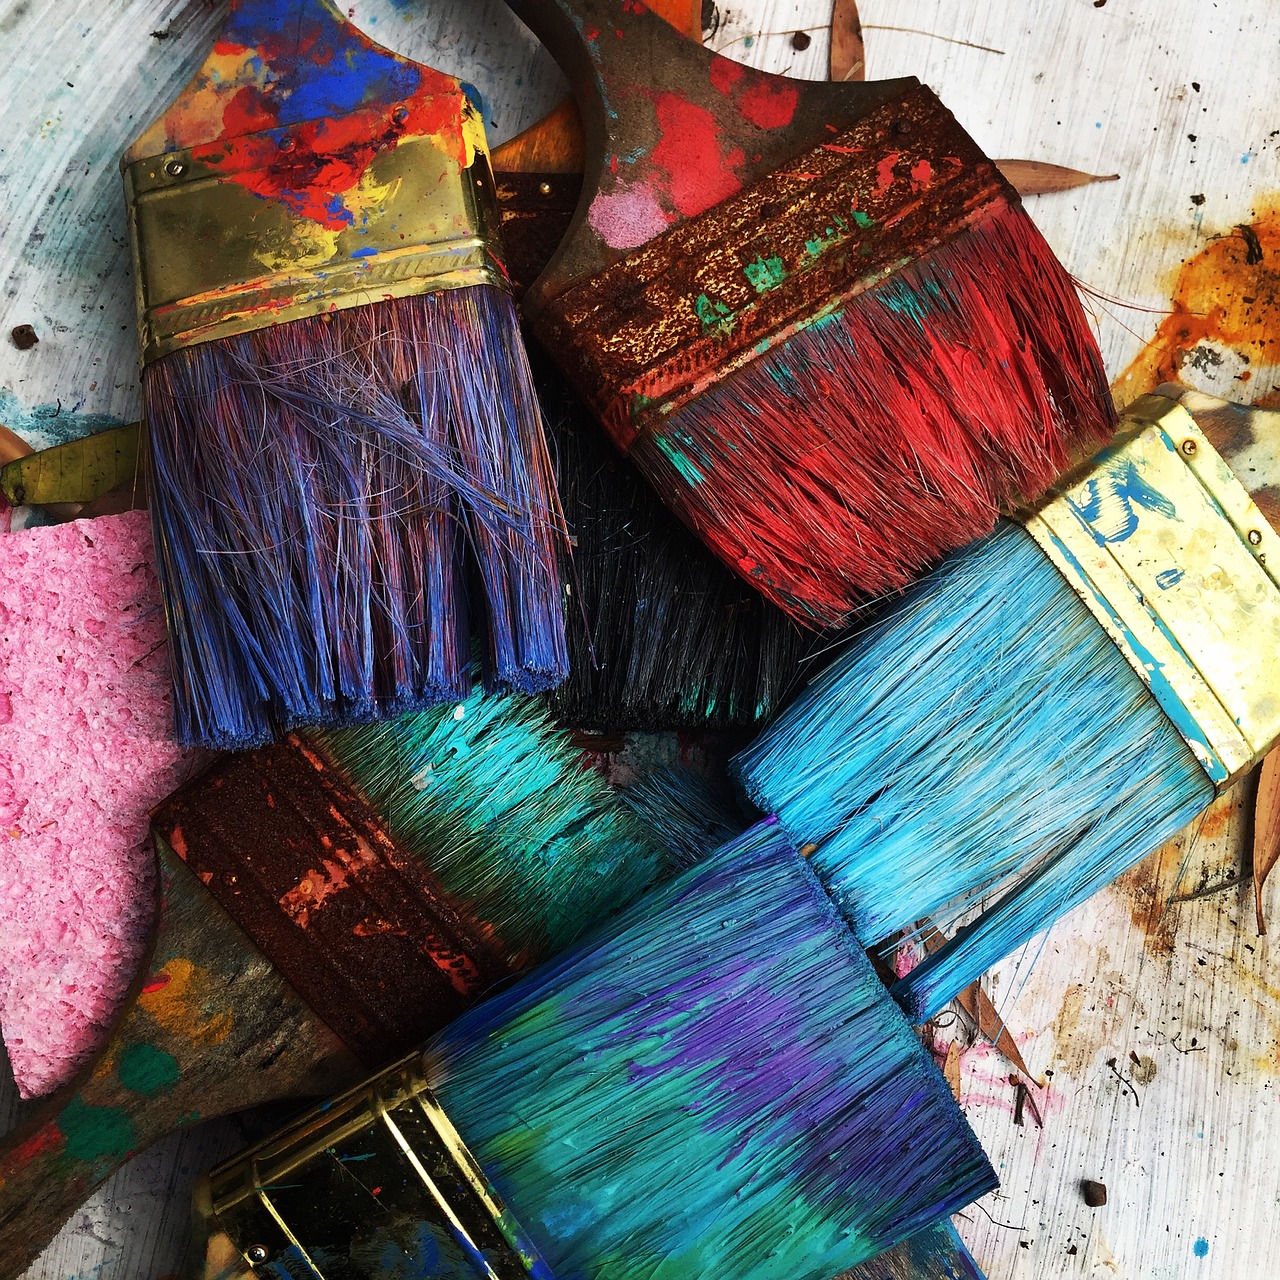
When you’re just starting out, all you really need is a couple of paint brushes in different sizes. Do try and get the best ones you can afford those, as brushes with natural bristles give a much better finish and fewer lines. If you decide you’d like to do other projects, you could also consider a paint sprayer which is ideal for larger surfaces and gives a flawless finish. Finally, a miniature roller and tray works well for covering large areas, and can add a nice textural look.
Cloths
If you’re a beginner, you’ll find you need cloths in really surprising numbers! You’ll need them for wiping paint brushes on, catching drips, cleaning up drops, removing smears. Later in the process, you might also need them for applying wax, wiping off dust before painting or buffing up the finished piece. You can buy rolls of decorators’ cloths, but old cotton tee shirts work just as well.
Finally, disposable vinyl gloves and lots of dustsheets are a must. You may also need a disposable face mask, if you’re using paint stripper or are very sensitive to dust. Decorators’ wipes (a bit like heavy-duty wet wipes) are useful for catching the odd splatter of paint that’s missed the dustsheet (not that that would ever happen to us, oh no!)
Good luck with your project and don’t forget to let us know what you’ve been busy creating!
All images courtesy of Pixabay


[…] your kitchen cupboards without having to have a complete new re-fit. Check out this useful guide to painting furniture to find out what you’ll need to get started, or try spray paint for a quick and easy […]
[…] in history and nature, it offers warmth to any home while also embracing sustainable elements like salvaged wood furniture or antique textiles. This decor style is associated with the countryside’s outdoor ambience. […]
[…] you like the idea of upcycling? Making something old and giving it a new purpose? Upcycling is a great way to give old furniture a new lease of life, and it can also save you a fair bit from having to replace certain items in […]