
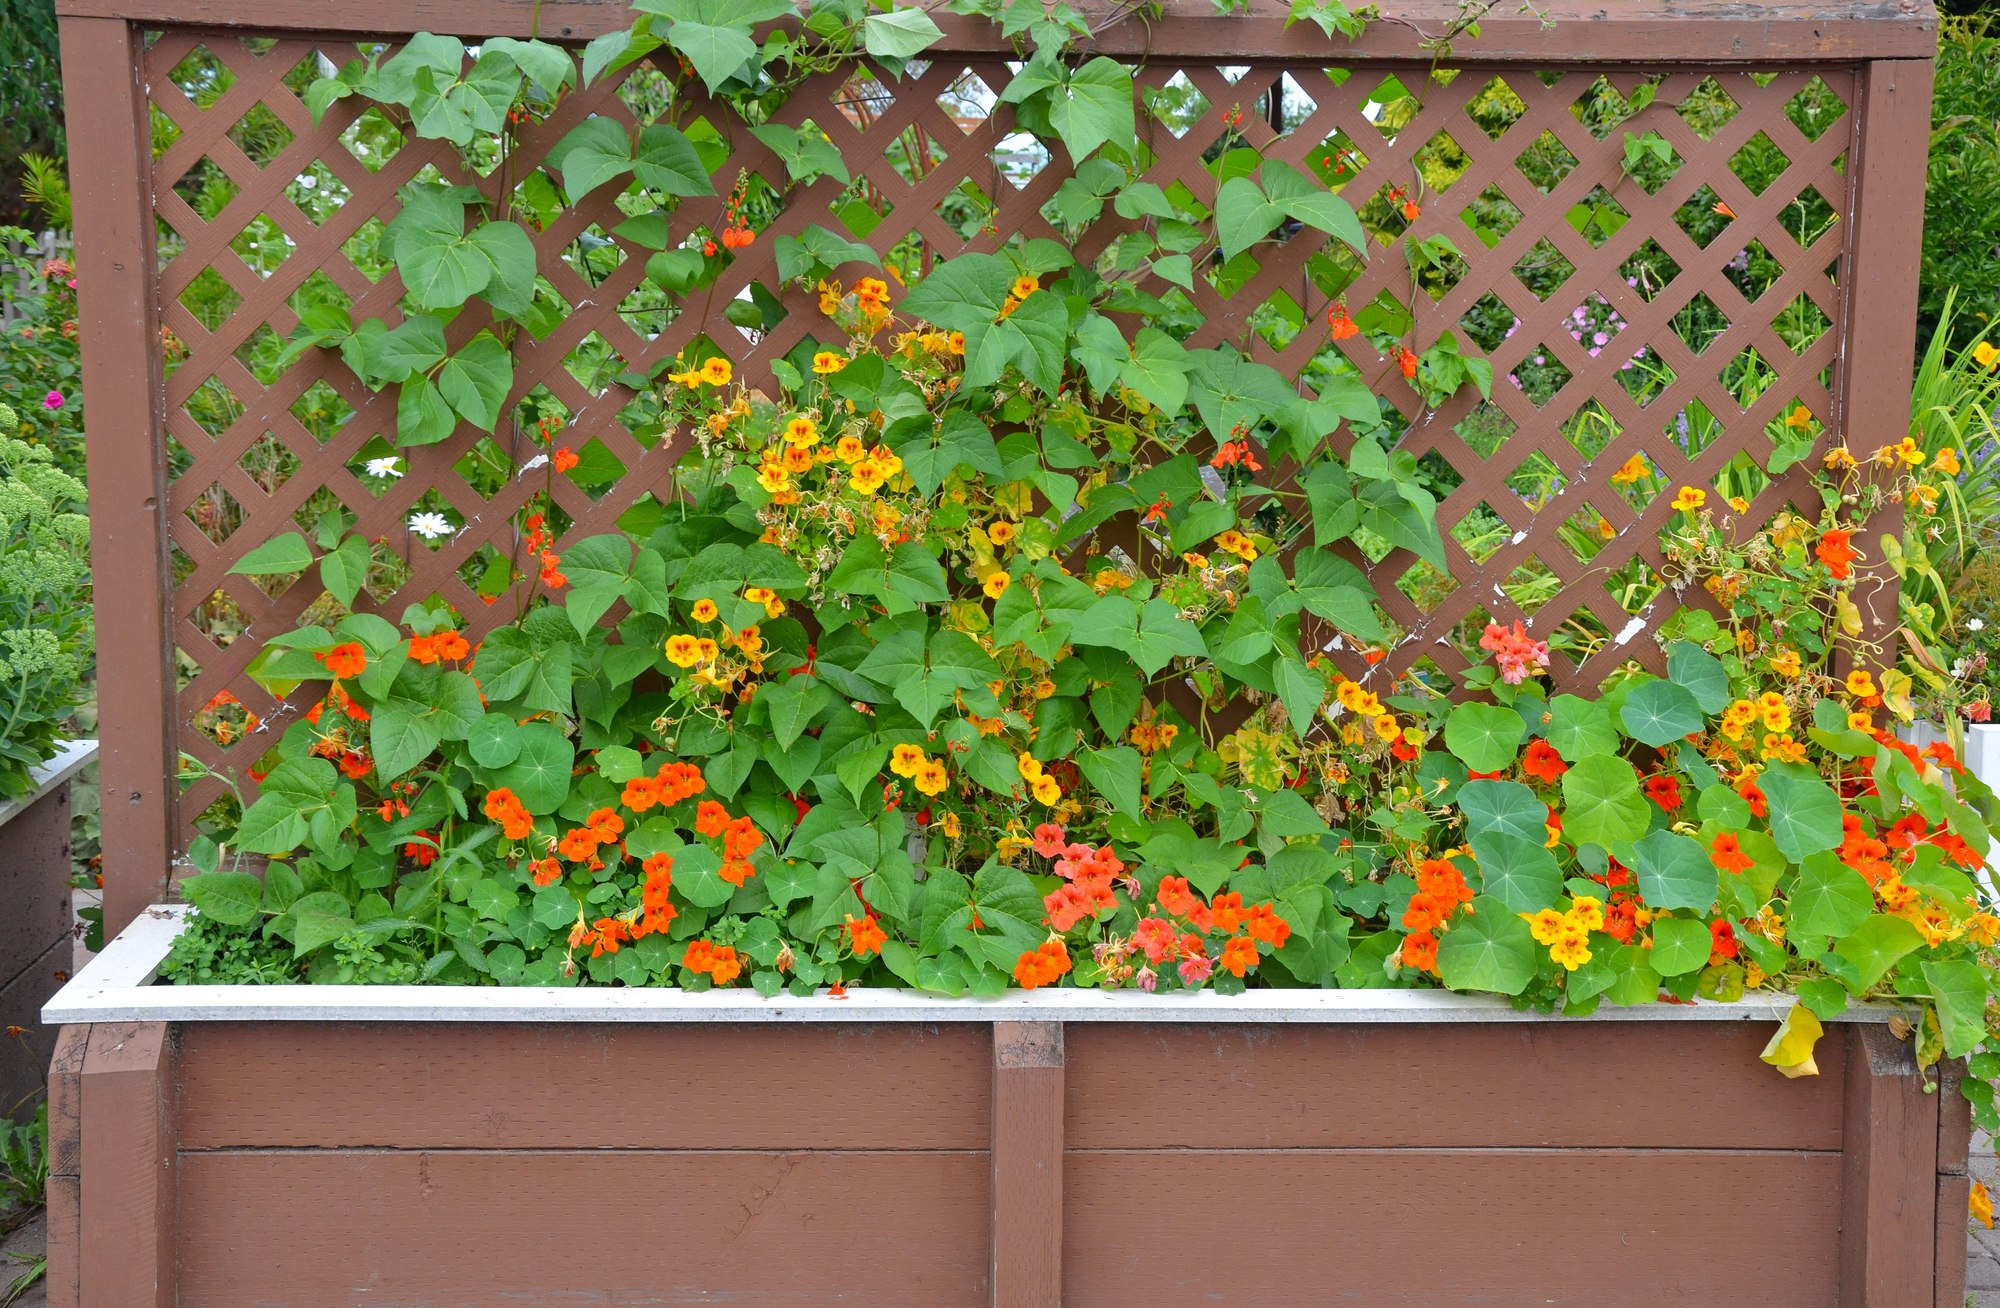
Eco-friendly designs influence modern home improvement, with homeowners seeking creative solutions for outdoor spaces. Reclaimed wood gives new life to salvaged materials and can build a terrific garden trellis. This structure can support climbing plants and add vertical depth to your patio. Consider using upcycled wood for your lattice panel.
Understanding Reclaimed Wood
Reclaimed wood comes from old buildings, such as barns or warehouses. Experts will repurpose the lumber for new uses. For example, you could use it for panelling, furniture and ceiling beams. Outside, you can use it for staircases and planter boxes.
Reclaimed wood is one of the best materials for home improvement projects. By repurposing existing materials, you can reduce your environmental impact and reduce demand for new lumber. Experts say this recycled product can strengthen sustainability commitments, boost local economies and enhance living spaces.
Building a Garden Trellis With Reclaimed Wood

A DIY garden trellis is sustainable and rewarding. Proper planning and tools allow you to create eco-friendly features on your patio. Here are six tips for your next project.
Plan the Design
First, determine the space available on your patio and where the trellis fits best. Prioritise sections with ample sunlight to give your climbing plants the best chance to grow. You should also consider whether you want to support flowering vines or use the trellis for decoration.
Then, it’s time to decide on the shape and size. Some homeowners use rectangular panels and arched tops, whereas others include creative geometric patterns. The trellis should complement your patio’s style.
Inspect the Wood
Before building, ensure the reclaimed wood is safe to use. While most lumber is recyclable, it may have rot, mould or insect damage. Damage could affect the longevity of your trellis and plants. Check for discolouration, soft spots and holes before assembling the structure. If the board has imperfections, you may need to discard it.
Next, check for old nails, screws and fasteners. You can remove them with pry bars, pliers or screwdrivers. Wash acceptable wood with a mild soap solution and let the lumber dry completely.
Gather Tools for the Job

Before assembly, you’ll need the right tools. Start with a circular saw, as it reduces noise and vibrations and creates a better surface finish. Homeowners benefit from its long lifespan and faster cutting, thanks to the saw’s carbide-tipped blades and reduced chipping.
A high-quality drill and screws prevent the wood from splitting. You’ll also need a carpenter’s square to keep cuts square. Sandpaper can smooth the roughest edges and make the trellis easier to handle.
Cut the Wood
Now, it’s time to cut the reclaimed wood for your trellis. Start by using a measuring tape to get your preferred dimensions on each side of the lumber. Then, mark each piece with a pencil and carpenter’s square to ensure the lines are as straight as possible.
Cut the wood on a stable surface with your circular saw to increase safety. If you want angled cuts, you may need a mitre saw or jigsaw for better versatility. Once you cut the materials, sand the edges to remove splinters and rough spots.
Apply a Weatherproof Finish

Apply a weatherproof finish to the wood to make the trellis long-lasting. Outdoor decor is constantly exposed to the elements, like rain and humidity, leading to structural weakness. You’ll need a barrier to resist and preserve structural integrity.
Protecting your wood may include oil- or water-based finishes. Experts say oil products resist water well and enhance the natural grain, though they take a long time to dry. Water-based sealants dry faster and resist yellowing but may require reapplication more frequently.
Install Your New Trellis
Use a drill and screws to securely attach the wood pieces and assemble your trellis. The finished trellis is now ready for installation on the patio. Once you pick a location, you’ll need heavy-duty brackets or galvanised screws for fastening. Regardless of the spot, it’ll need gaps from the surface to ensure airflow and plant growth.
Installation will be different if you have a freestanding trellis. Your post holes should be deep enough to ensure stability. Be extra careful and check for underground utilities before digging. Once it’s in the ground, test the trellis for sturdiness.
Decorate Your Patio With a Sustainable Trellis
Building a garden trellis from reclaimed wood adds beauty, function and sustainability to your patio. Before turning on the drill, use thoughtful planning to determine your structure’s best space and size. Then, you can embrace the satisfaction of a homemade trellis and its unique charm.
Jack Shaw is a Senior Writer and Editor at Modded. He’s from New York, NY, and has more than seven years of experience writing for the men’s lifestyle niche. Shaw has extensively covered home improvement projects and DIY tips, being featured in publications including Quartz, Realty Times and more.

